
NSPIRE mock inspection
You did the work. Was it enough?
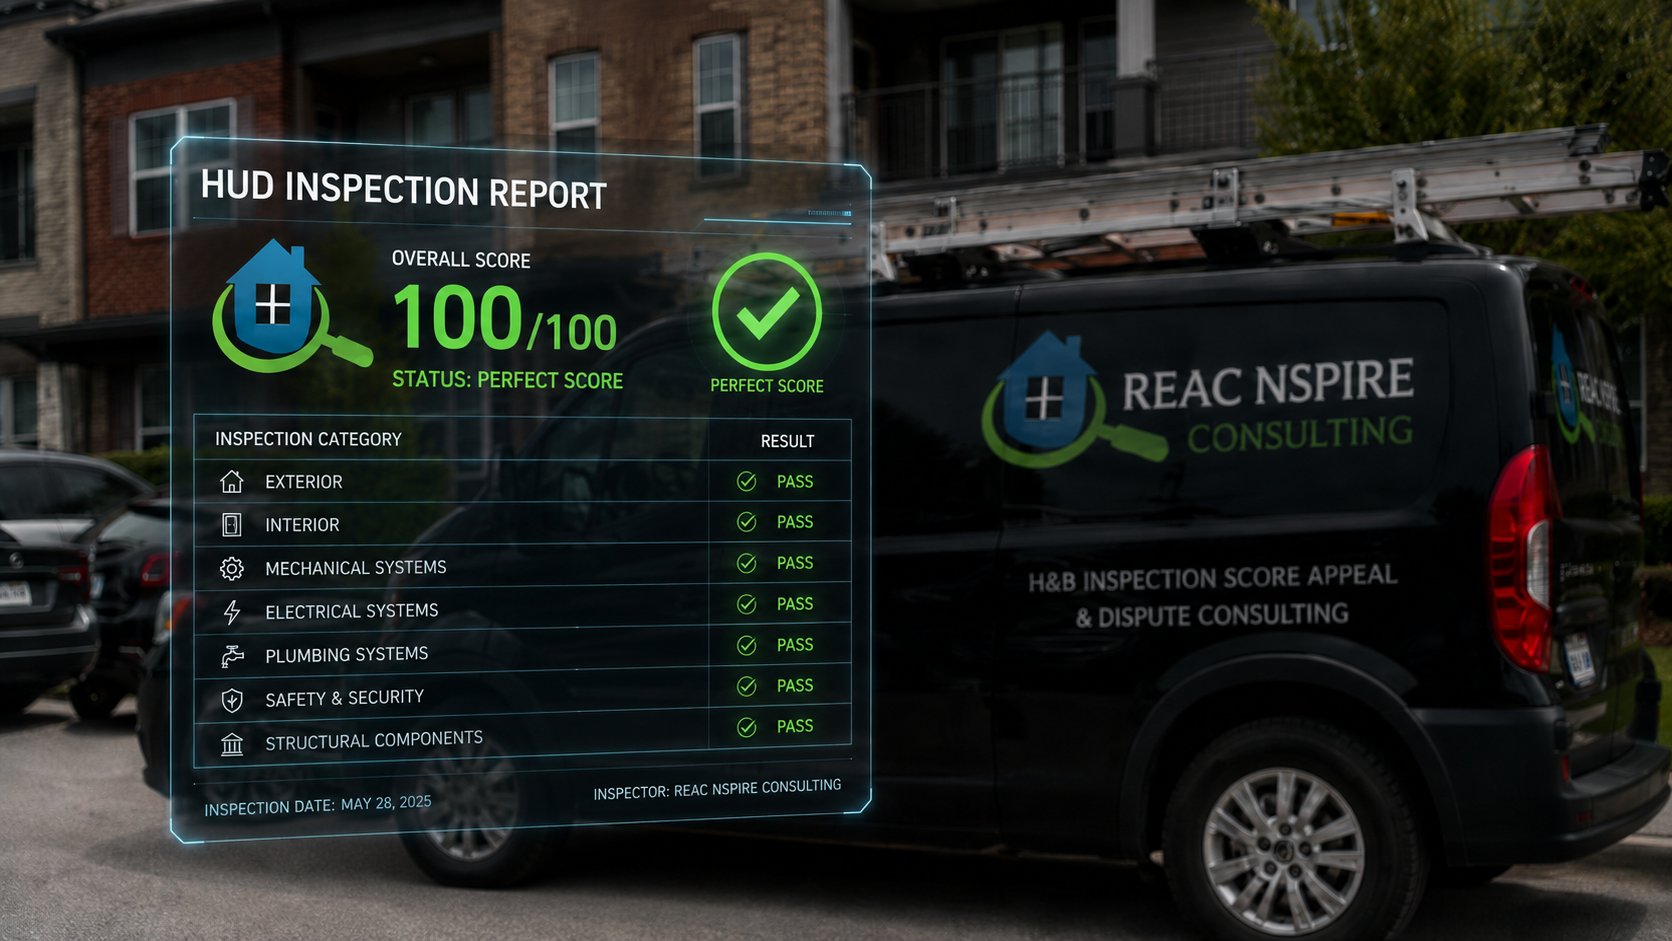
A pre-inspection tells you what to fix. A mock inspection runs the whole thing again afterwards, on the same unit sample HUD would draw, and tells you where the property now stands. It is the verification step, not the preparation step.
Try it
The sample size is what makes it a simulation
A walkthrough of a few representative units tells you about those units. A mock inspection draws the sample the way an inspector would, which is the only way the result means anything.
Sample sizes shown are indicative of how a statistical draw scales with property size. Your actual sample is set by HUD's published methodology and confirmed at intake, not estimated from a slider.
What a mock inspection is
Verification, not a second opinion on your repairs
Teams hesitate before booking one, and the reason is fair. Budget has been spent on repairs. Maintenance staff were pulled off other work. Another assessment can feel like starting over.
It is not that. A mock inspection does not re-audit the repairs you made. It runs the full assessment again, on a properly drawn unit sample, and reports where the property stands now.
If the work held, that is what the report shows, and you go into the official visit knowing rather than hoping. If something was missed, you find out while there is still time to act on it, which is the entire value of doing it now instead of learning it on the day.
The other thing it catches is documentation. Repairs completed properly but recorded thinly are a real exposure, and a simulation flags where the evidence would not stand up even though the work would.
If you have not yet done the preparation, start with a pre-NSPIRE inspection instead. This page is for the step after that one.
The simulation
Three inspectable areas, in inspection sequence
The walkthrough follows the order an inspection follows, and every finding is classified at the point of observation rather than sorted afterwards.
Inside the unit
Assessed first and across the full drawn sample. This area carries the most weight, and there is a threshold rule that catches properties out: lose 30 or more points here alone and the score is adjusted to 59 regardless of the rest.
Inside the building
Common areas and building systems. Where a well-prepared property most often leaks, because low-severity findings accumulate across corridors and stairwells in ways an internal team stops noticing.
Outside
Site, grounds and building exterior. Genuine defects are recorded here, but it is the least heavily weighted of the three, so a strong result outside will not offset weakness inside.
Severity
Four tiers, applied at the point of observation
Classification happens on site, not in post-processing. A finding recorded without its tier is a finding without a deadline attached.
Life-threatening
Correction required within 24 hours of identification. If the simulation finds one, your team is told during the walk rather than in the report.
Severe
Significant defects affecting health, safety or building system function, without that immediacy.
Moderate
Defects reducing condition or usability without a direct safety risk. In volume, these are what separate a comfortable result from a marginal one.
Low
Minor defects with limited individual impact. Still recorded, still counted, and cheap to close before the visit.
Standards
How the simulation is run
Statistical unit sampling
The sample is drawn on the approach an inspector applies, based on total unit count and unit-type mix, rather than selected for access or condition. This is the single thing that separates a simulation from a walkthrough.
All three inspectable areas
Units, inside the building, and outside, walked in inspection sequence rather than in the order that suits the route.
Severity classified on site
Every finding assigned its tier at the point of observation. Nothing deferred to the report-writing stage, where context has already started to fade.
Ranked by consequence
The remediation list is ordered by what each finding costs rather than by location or ease of repair, so whatever time remains goes to the right work.
Documentation gaps identified
Completed repairs that lack the evidence to demonstrate they were done properly are flagged separately. The work being right and the record being right are different problems with different fixes.
Written report in 48 hours
Photographic documentation throughout, an indicative position, and the ranked list of what remains outstanding, delivered inside 48 hours of the walkthrough.
How it runs
Three stages, in inspection order
Setting the sample
Unit count, building type, programme type and prior inspection history where available. This establishes the sample before anyone walks the property, which is what makes the result comparable to a real visit.
Units first, then building, then site
Every deficiency logged at the point of observation with its severity applied immediately. Life-threatening findings are raised with your team the same day rather than held for the report.
Where you stand, and what remains
Findings organised by severity, ranked by consequence, with an indicative position and a remediation sequence telling your team what to do first rather than what looks worst.
What the number is and is not
An indication, not a prediction
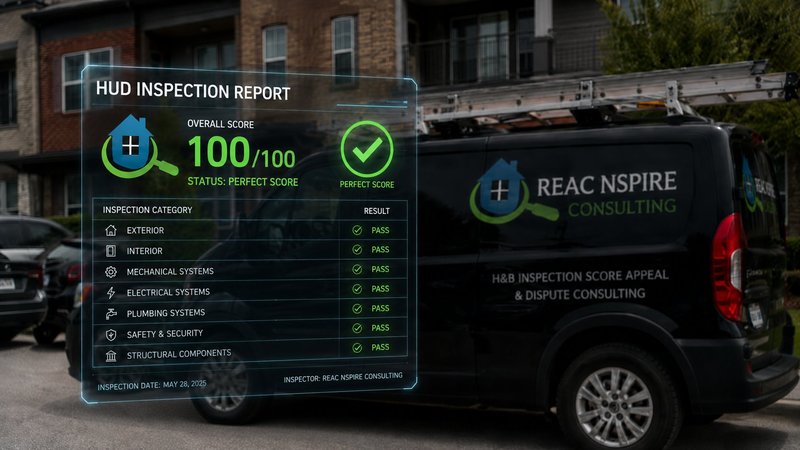
A mock inspection produces an indicative position based on what was observed, using the same severity classifications and the same weighting logic the real assessment applies.
What it cannot do is predict your actual result, and we would rather say so than imply otherwise. A different sample of units will be drawn on the day. Conditions change between visits. Judgement varies at the margins on individual findings.
What the exercise reliably tells you is where you stand relative to where you need to be, which of the three areas is carrying your exposure, and whether the work you have already done was sufficient. That is a genuinely useful answer, and it does not require anyone to pretend the number is a forecast.
- Based on a properly drawn sample, not a convenient one
- Same severity classifications the assessment uses
- Exposure identified by inspectable area
- Documentation gaps separated from condition gaps
- Honest about the margin of difference from the real visit
Areas we serve
Every state, same protocol, same flat rate
Deployed from our Philadelphia hub through a field team of 50+ consultants, with single-property engagements and multi-site portfolios both available.
Find out whether the preparation was enough
Tell us your property type, unit count, state and inspection window. Flat rate, confirmed before we schedule.
Frequently asked
Mock inspection questions
Do you use a real sampling method, or pick units to walk?
The sample is drawn on the statistical approach an inspector applies, based on your total unit count and unit-type mix. If your property produces a thirty-unit sample, we walk thirty units.
Not a representative floor. Not the units that show best. That is the difference between a result that means something and one that is directional.
What does a mock inspection cost?
Flat rate, with no variable charge based on deficiency count or property condition. One price confirmed before any consultant is scheduled.
Call or email with your unit count, property type and state for a direct quote.
How long from first contact to the report?
Scheduling is usually confirmed within a business day. On-site time scales with the sample size, so a larger property takes longer to walk, and the written report follows within 48 hours of completion.
Our repairs are done. Why now rather than before we started?
Because this answers a different question. Before the work, the useful question is what to fix. After it, the useful question is whether it was enough, and only a full assessment on a proper sample can answer that.
Many properties do both, and that is the intended sequence: pre-inspection to build the list, mock inspection to confirm the list was worked through effectively.
How is this different from a pre-inspection walkthrough?
Scope and purpose. A pre-inspection identifies deficiencies so you can plan repairs, and can be efficient about which units it walks.
A mock inspection reproduces the assessment: proper sample size, all three areas in sequence, severity applied on site, and an indicative position at the end. It costs more time on site, and it is the only version that tells you where you stand.
Does it predict our actual score?
No, and we will not claim it does. It produces an indicative position from what was observed, using the same classifications and weighting logic the assessment applies.
A different sample gets drawn on the day, conditions move, and judgement varies at the margins. What the exercise reliably shows is where your exposure sits and whether the preparation was sufficient.
What if the simulation finds something serious close to the date?
Life-threatening findings are raised with your team on the day of the walk, not held for the report, because those carry a 24-hour correction window running from identification.
For everything else, the ranked list tells you what to do with whatever time remains. Finding it now is materially better than finding it during the official visit, even at short notice.
Can you run one across a portfolio?
Yes, and consistency is the reason to. One protocol and one report format across sites means the results can be compared rather than read separately.
For portfolios where the aggregate view matters more than any single property, see portfolio pre-inspection programmes.